Projection Clock

Aug 23, 2021
Projection clock

My eyesight is pretty bad, which makes reading the time on the clock next to the bed a challenge at night. Since 2016, my wife and I have used a projection clock / radio combination, but it had a number of drawbacks:

  • The display uses bright blue numbers, which is hard to look at in the dark
  • The display is either too dim to read in the daytime (and just right at night), or it's just right in the daytime and too bright at night
  • The time from the projection feature is too small for my poor vision
  • The projection feature is also too dim to see in all but the darkest rooms
  • Our cats chewed up the tiny antenna on the radio, rendering it useless (not that we used it much anyways)

Frustrated with all of these features, I picked up this projection alarm clock from Amazon. It's terrific:

  • This clock uses red numbers, which are way easier to read at night
  • The primary display isn't too bright or dim (and you can control the brightness across 4 levels)
  • The projected time is larger than my previous clock
  • The brightness of the projected time is controllable; I use the brightest setting, which makes the numbers quite readable on the ceiling
  • There's no radio to fool with (or antenna for cats to chew)
  • It has a USB port to slow-charge your phone, which is nice but not something I plan to use

At only $25 (I got it on sale for $20), it's a nice improvement to our bedroom. The only drawback I can think of so far is that the clock is ridiculously light, making it easy to slide around on the bedside table.
Yellow-billed Cuckoo

Aug 10, 2021
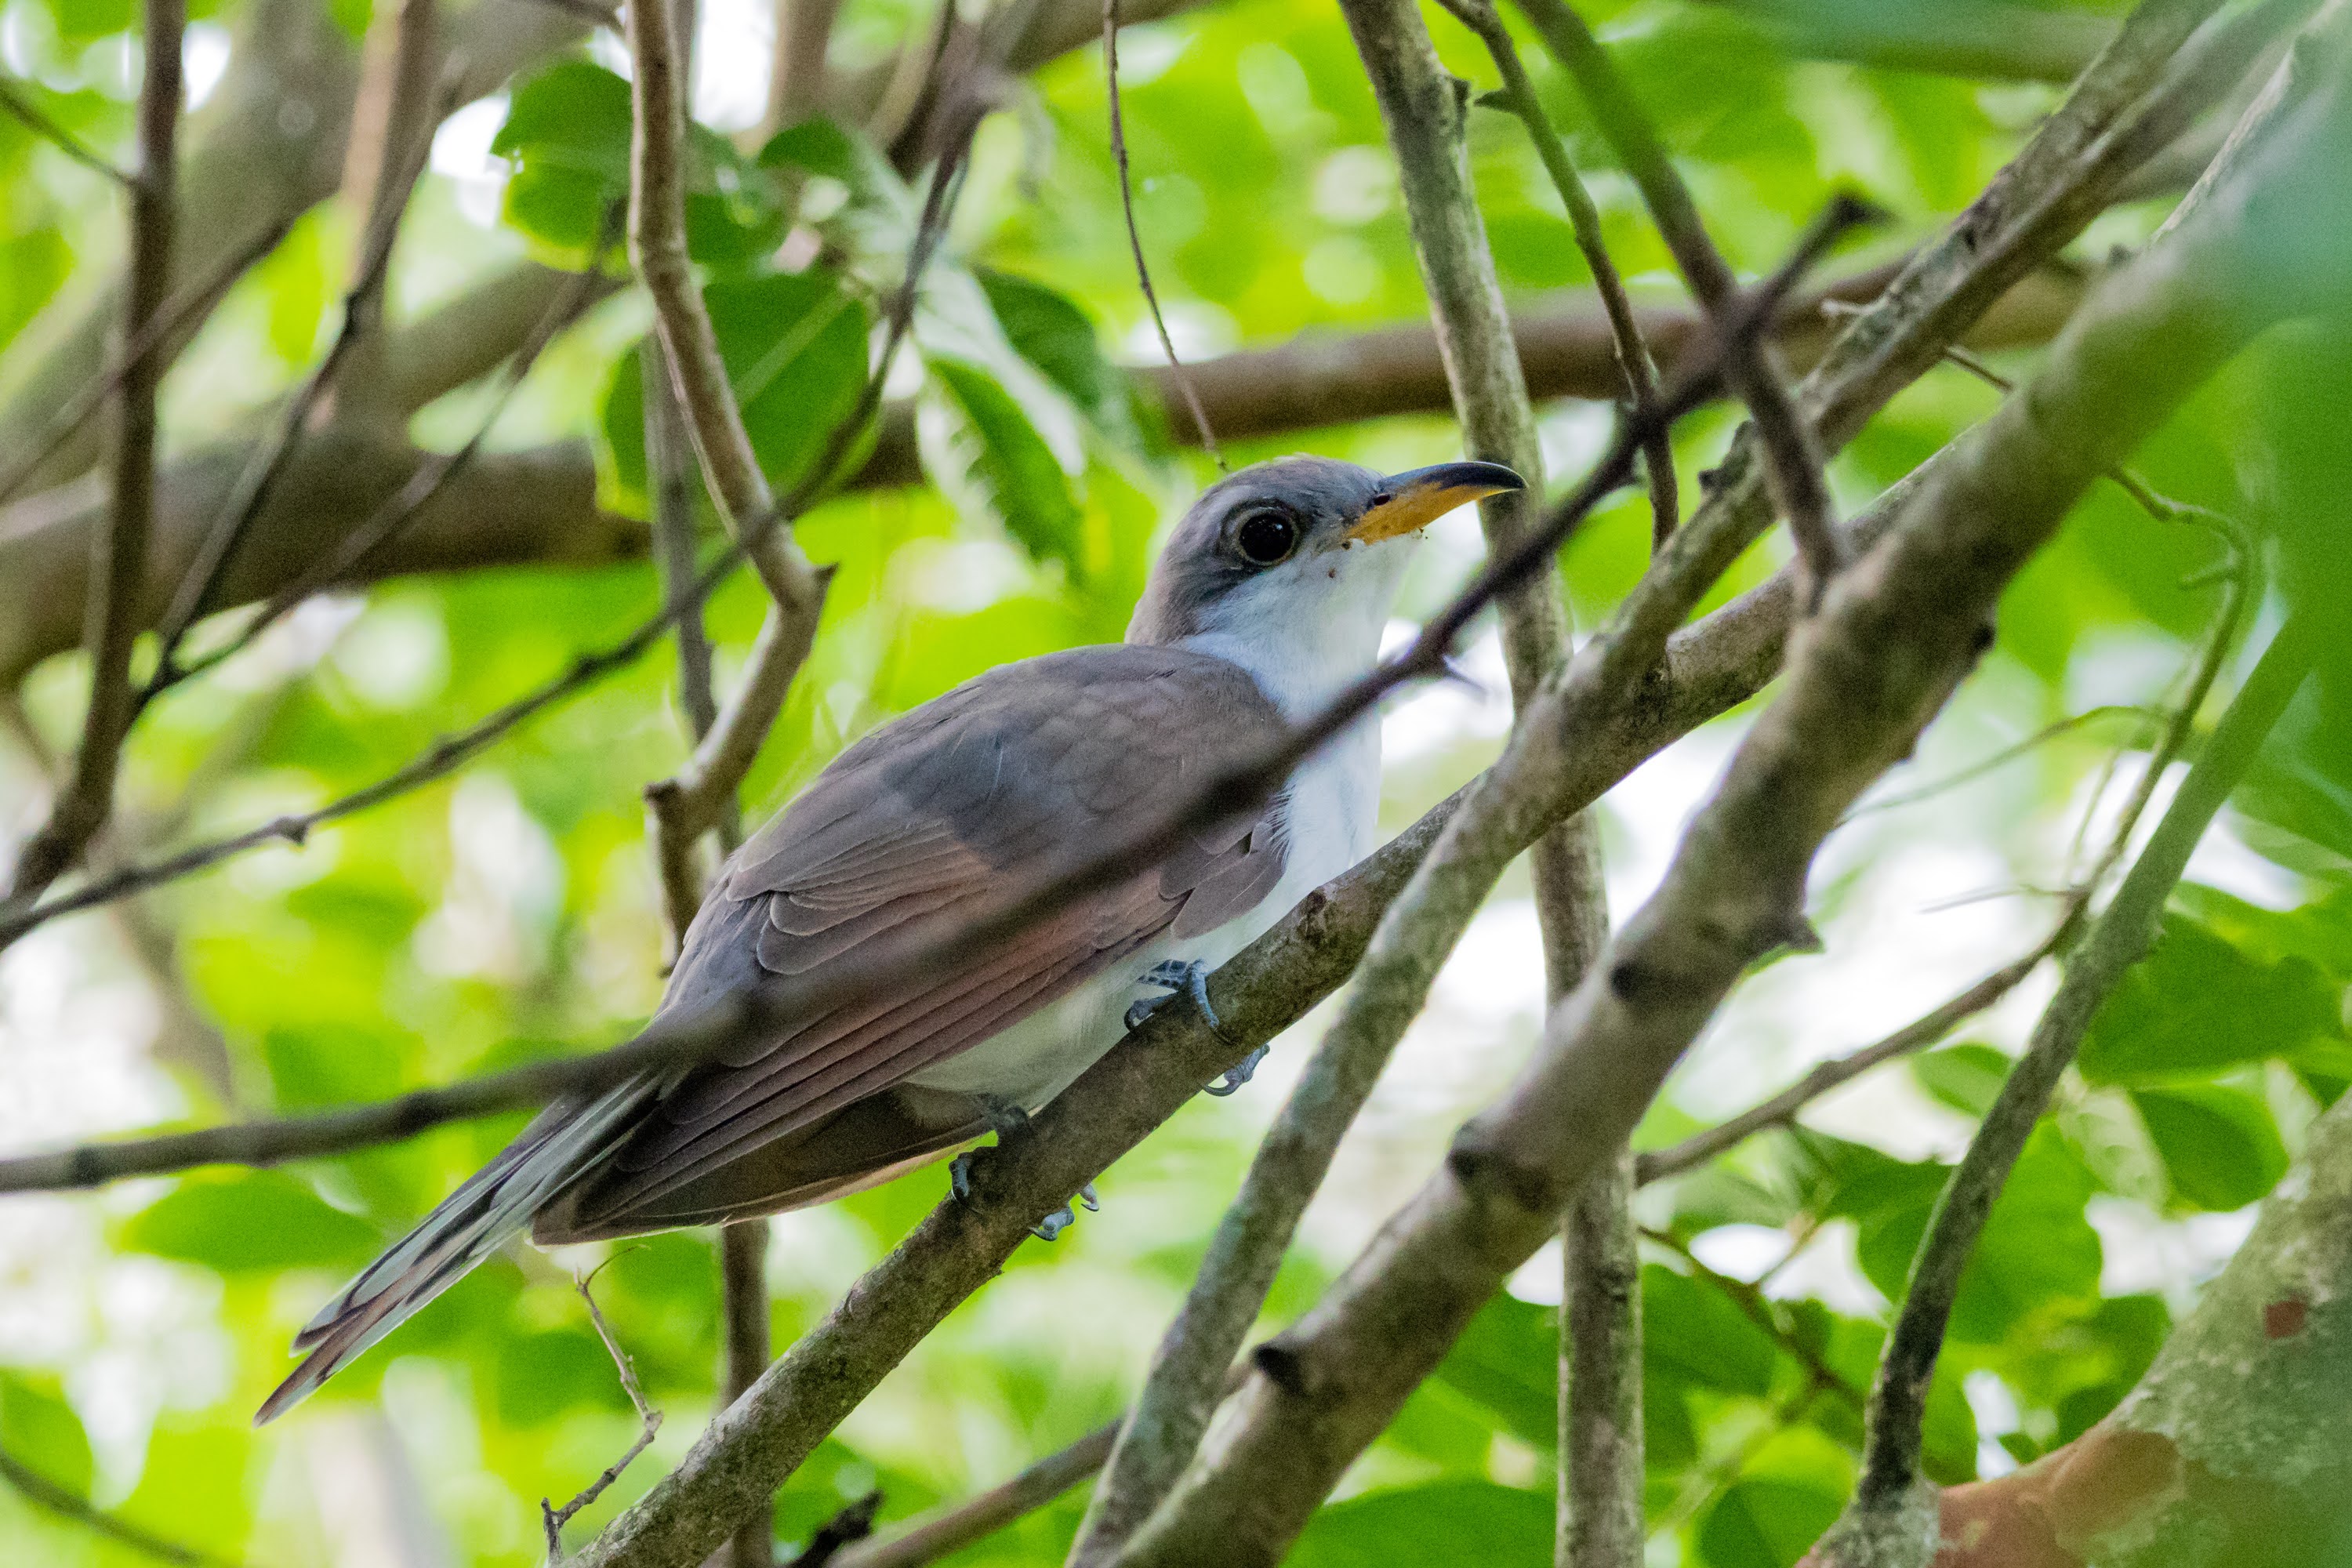
Yellow-billed cuckoo

This morning I got really lucky and photographed the 37th different bird species I've seen in our backyard: a yellow-billed cuckoo. These birds are apparently notorious for being hard to see, though they are frequently heard due to their distinctive calls. A number of people in a North Carolina birding forum that I post to have heard them in the wild, but have never seen one. Lucky catch!

I spotted it out of the kitchen window this morning, had an idea as to what it might be, and grabbed my camera. I sat outside on our back deck for 5 or 10 minutes before it showed itself again. Though the photo isn't the greatest, I'm happy that I was able to get a snapshot of it.

One of the great thrills of birding is checking off birds on your life list. This "lifer" for me was a fun one to get, and gives me the bug even more to find (and photograph) new birds!

We use AG-Grid at work for several of our projects. Earlier this week, I ran into an interesting issue in some code being used to load data into the grid. The call was very simple:

agGrid.simpleHttpRequest({url: theURLToLoad })
    .then(function(data) {
        gridOptions.api.setRowData(data);
    });

This asynchronous call was failing and no error was being thrown (as we typically do elsewhere in our code). In looking around, I couldn't determine where the simpleHttpRequest call was defined. The AG-Grid documentation, which is generally pretty good, had no mention of it, save for its use in a few examples. After half an hour of digging, I decided to actually poke around in the AG-Grid source code. There I found the function's definition:

function simpleHttpRequest(params) {
    return new _utils__WEBPACK_IMPORTED_MODULE_0__["Promise"](function (resolve) {
        var httpRequest = new XMLHttpRequest();
        httpRequest.open('GET', params.url);
        httpRequest.send();
        httpRequest.onreadystatechange = function () {
            if (httpRequest.readyState === 4 && httpRequest.status === 200) {
                resolve(JSON.parse(httpRequest.responseText));
            }
        };
    });
}

All this function is an incredibly light-weight wrapper around XMLHttpRequest. It provides absolutely no support for error handling, and is missing all the other hooks one would need to take full control over the request and its response. It frustrates me when packages do stuff like this. If you're going to show how to fetch remote data for your package, use the vanilla JavaScript features that are industry standard, not some custom wrapper.

Brave Mobile Browser

Aug 3, 2021

Over the past few weeks, I've switched my primary mobile browser (in Android) from Firefox to Brave (thanks for the suggestion, Kip!). So far, I'm very impressed with the app. The built-in ad blocker is impressively accurate, and the browser is incredibly fast. In fact, it feels faster to me than Chrome does (and it's night and day compared to Firefox). There are a few minor UI annoyances here and there, but nothing that ever gets in the way. I've also been impressed with the updates the development team pushes out (the browser only seems to get better with time). I recommend it.

Lately I've been thinking about image post-processing a fair amount. This is partly due to my shooting more photos, which subsequently need to be processed before I share them (I shoot in RAW). Post-processing is an area where I feel I have room to improve as a photographer. Most of the room for improvement comes down to the time I'm willing to put into the post-processing step. Often, I'm eager to share my photos, and will do only a small amount of editing to minimize the time necessary for that step. Investing time in this step, however, can often result in better photos. It's a deep rabbit hole, however, and I occasionally find myself asking "how far is too far?" when it comes to photo adjustments.

The tutorial videos I've seen online run the spectrum of possibilities. Some photographers treat their images very conservatively, making only the bare minimum changes to bring out the best of the photo. Others seemingly "run amok" with changes: from removing parts of the scene, to wildly adjusting the color of the lighting (often to make it appear that the photo was taken at a different time of day). Personally, I think I tend to lean towards the former thinking: adjusting only what's necessary.

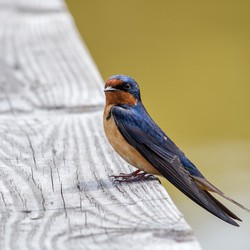
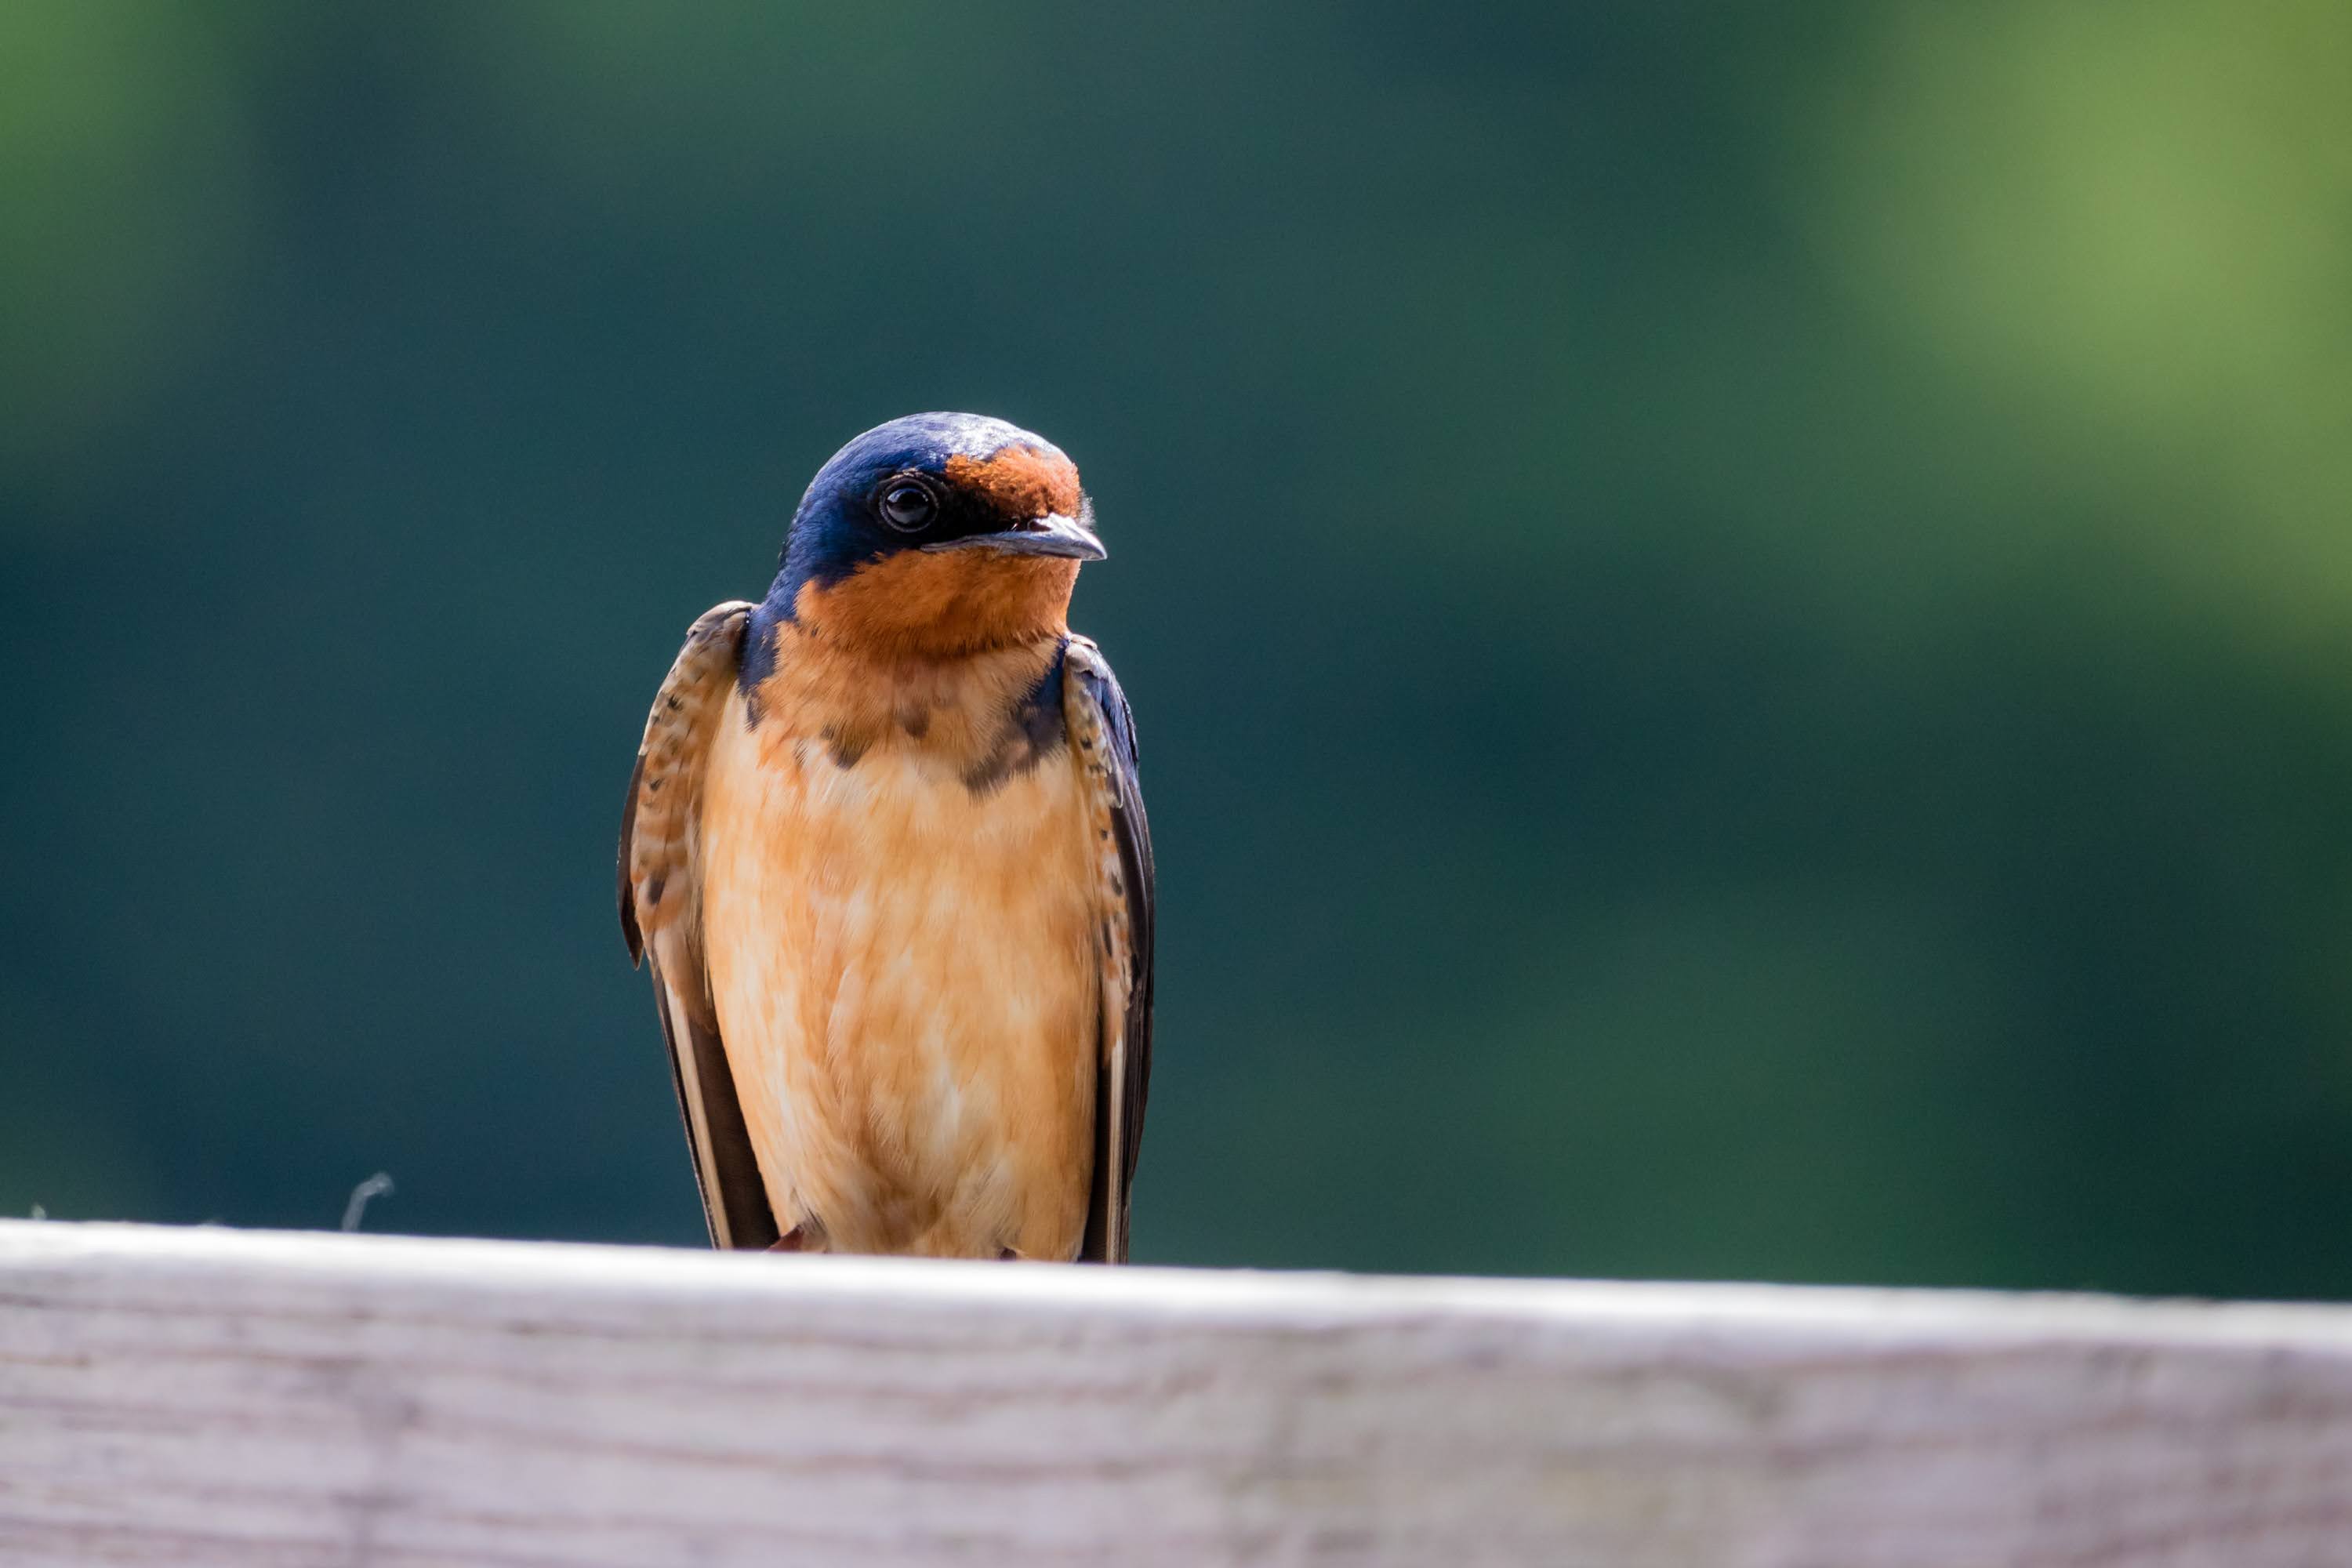
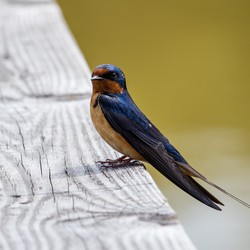
I spent some time this afternoon making an alternate edit of a recent photo I took of a barn swallow at Lake Lynn in Raleigh, NC. Take a look at the following two images (click to enlarge):

The first image was my original "quick pass" at editing: global adjustments only. The second image was done with a little more care: I adjusted specific sections of the photo individually, spending more time in the process. I also adjusted the crop of the second image (the first's crop was a little off, in my opinion).

This particular bird was backlit in the photograph, making the side towards the camera much darker (as can be seen in the first image). I brightened that up considerably for the second image. Are the adjustments in the second image too much? Who's to say, really? It's an interesting problem to think about. Where is the line between reality and creative freedom?

My ultimate goal is to produce the best possible pictures I can. Much of that process begins with taking better photos to begin with, as post-processing can only help so much. Taking better photos requires practice which, happily, I'm getting more of with each passing day.

Merlin Sound ID

Jul 4, 2021

The Merlin bird identification app that I wrote about a while back has an incredible new feature: sound ID. Simply bring up the Merlin app, select "Sound ID", and capture the bird song you want to identify. As you record, possibilities for the target bird appear. A few nights ago, while on a walk, I recorded a sound I didn't know, and it suggested a gray catbird, which was spot on.

There's a nice article that provides some details on this new feature and how it works. This app is getting better and better with time, and I highly recommend it.

Overexposing Images

Jul 2, 2021

Here's a neat tip I recently picked up from a YouTube video. When shooting a subject against a bright background (e.g. shooting birds against a sky), move the exposure compensation on the camera up about a stop (or even more, if necessary). The photo below of a red-tailed hawk was shot with +1 exposure compensation, and it didn't take much tweaking in Lightroom to get a nice looking image. You can click the image to get a larger view of it.

Prior to learning this tip, I've ended up with a ton of disappointing birds in flight photos. No more!

Red-tailed hawk; +1 exposure compensation

Further Mouse Woes

Jun 30, 2021

Three months ago, I gave a quick review of the Logitech M585 Wireless Mouse. In the past couple of weeks, I've started having trouble with this mouse, so I can no longer recommend it. When my laptop first starts up, the mouse has trouble staying connected (I connect via their Unifying USB receiver). The connection drops out repeatedly causing the mouse to stutter. I tried switching to Bluetooth connectivity mode, but that experience was even worse! The lag when operating over Bluetooth was comically bad.

This connection issue persists for the first 10 minutes or so of my laptop usage. After that, things magically start working again. Rebooting doesn't seem to trigger the problem, interestingly enough. It only seems to appear on a cold boot.

To top matters off, I've already had a battery die on me with this mouse, and I've only owned it for about 7 months. The second battery I installed is also nearly dead, according to the Logitech software. I could go for a couple of years on a single battery using my previous Logitech mouse, so this is a real disappointment. Many Logitech mouse models have poor reviews at Amazon, indicating to me that they've clearly dropped the ball on their quality control.

I've ordered a Kensington wired mouse to replace this one, figuring that going back to a wired model will obviate these types of problems. Hopefully a different brand will provide me with an improved experience. I'll report back once I've received the new mouse (it should be here this weekend) and put it through its paces.

Gear Envy

Jun 20, 2021

I seem to have a knack for choosing expensive hobbies. Photography is a prime example of that, where the sky is the limit in terms of how much certain gear costs. Every aspect of photography can be ridiculously expensive. Want a nice camera strap? $65 will get you one. Looking for telephoto lenses? Some of the nicest primes sell for $13,000!

As I've been getting back into photography, I've been voraciously watching related videos on YouTube. In so doing, I've found it super easy to get envious of the gear that some people have access to. I have to constantly remind myself that:

  1. Lots of the gear that people use (especially on YouTube) may have been provided by the manufacturer, in return for coverage on their channel.
  2. Many of the people on YouTube are professionals, where it makes sense to have nicer gear.
  3. Chasing better gear can become a never ending cycle, as camera bodies and lenses get better and better over time.

Good gear can certainly make things easier in photography, but the old adage that a poor craftsman blames his tools definitely applies. As a hobbyist, I want to take the best photos I can, but I also don't want to take out a mortgage to do so. Striking a balance between affordability and performance means having to do my homework when it comes to researching options.

A recurring struggle I have with photography is in the sharpness of the photos that I take. I feel like I'm getting better in general, but I still struggle more than I would like. Take a look at this photo of a female brown-headed cowbird that I took back in February:

Brown-headed cowbird (female); soft focus

This is a really lousy photo in my opinion. To be fair, the conditions I was shooting in weren't great: it was a cloudy day and I was shooting hand-held through a kitchen window. Compare to this much sharper photo I took in March:

Brown-headed cowbird (female); sharp focus

Again, I was shooting hand-held, but I was outside at the time and the lighting was better. The results are much better, though still not perfect. It's frustrating to get bad results when I know I'm capable of so much more. There are a few ways that I'm planning on improving my success rate:

1. Switching Camera Modes

I'm pretty bad about letting the camera make most of the decisions when I shoot. I need to be shooting in shutter-speed priority mode more often, which would help me minimize subject motion blur.

2. Using Camera Support

Using a tripod takes a lot of time, but it's almost always worth it in terms of results. Given that I've got two young kids, however, taking a tripod along on family outings isn't always ideal. I want to start using my monopod more often as a compromise. Though not as stable as a tripod, a monopod should provide enough stability to help minimize camera shake. It should certainly be a step up from hand-holding.

3. Better Utilizing Depth of Field

This is a tough one to master, but I feel like I don't put enough thought into best utilizing the given depth of field for each shot. Sometimes I'm way too close to my subject, resulting in a super-shallow depth of field. Other times, my lens aperture is way too low, letting in additional light at the expense of a reduced window of sharpness. I've got to get better at anticipating what any given scene requires, and then using that setup. Becoming an expert here will simply take practice and experimentation.

As with any hobby, a lot of the fun comes with improving your skill. When I look back to photos I took at the beginning of my digital photography journey (an example of which is shown below), I can see that I've come a long way.

Terrible photo of a bird in the NC Zoo aviary

Birding Photography

Jun 14, 2021
Barn swallow

Photography has long been a hobby of mine, but I haven't put much effort into it in the past few years. Happily, this has recently changed thanks to my relatively new birding hobby, which I've tangentially written about a couple of times. I'm taking more photos than I have in a long while, and it feels great to jump back into the hobby (as an aside, it's interesting how hobbies can ebb and flow with time; I haven't done much woodworking this year, but photography is filling the void).

I have started a new photo album cataloging the majority of the bird photos I've taken over the past six months or so. I plan to keep this album up to date as I take new photos, so check back every once in awhile to see what's new. I hope to post additional photos over the coming weeks in other new albums.

Korky Toilet Parts

Jun 2, 2021
Korky toilet repair kit

I hate doing plumbing repair, mostly because it's often so hard to get right (and doing it wrong can be disastrous). The toilet in our downstairs half-bath has had a number of issues over the years, all revolving around leaky internals. I've repaired the thing myself a couple of times, and even hired a plumber to fix it once. Yet the leaking innards always resurface. I'm not sure if our city water is to blame (our water appears to be harder than I might consider ideal) or what, but it's been a thorn in my side for a while.

The leaks returned recently, so I went to the local home center to pick up replacement parts. I've always used the FluidMaster brand toilet repair parts, mostly because that's what was available. This time around, however, I noted the Korky brand parts. I decided I'd give these a try as a change.

All I can say is wow! Installing these parts seemed way easier to me this time around than in the past, and they are all very well made. It's very clear that thought was put into the design of everything in the kit. To put the cherry on top, these things are all made in the United States, which is something I can definitely get behind.

Time will tell if these parts hold up or start to have leaks like my previous fixes. I'm cautiously optimistic about this brand, however, given how easy the installation was. If you're in the market for toilet repair parts, be sure to look for the Korky brand. I'm very impressed with it.

When it comes to modern smartphones, I'm pretty much a laggard. This past weekend I finally got around to replacing my Pixel 1 smartphone (circa 2017), with a newer Pixel 4A 5G. My original Pixel had no battery life left and required multiple battery charges per day (!). It was also getting slower and hadn't received a security update since late 2019. After doing some brief research, I settled on the 4A 5G variant of the Pixel line for three primary reasons:

  • Relatively inexpensive
  • Good reviews
  • Ships with the latest version of Android (as of this writing)

Cost was the primary contributor to my decision. Although I use my phone daily, I'm not sure I can justify paying $700 or more for a top-tier phone (though, to be fair, I did indeed pay $700 for the original prior to having kids and while still on a dual income). This phone cost me $499, as I went with the non-Verizon 5G model (even though Verizon is my wireless provider). I don't care about 5G speeds, as I'm on wifi 95% of the time, so 4G support (which is what it falls back to) is just fine for me.

So far, I'm very pleased with the device. It's faster, has way more onboard storage (128 GB vs 32 GB), has stereo speakers (a huge plus), and will receive security updates for the next 3 years. As a byproduct of having more onboard storage, I'm planning on moving my music library onto the phone, which will allow me to ditch my iPod classic (talk about an ancient piece of hardware!). I'm also digging the larger display.

I will probably try to upgrade again in 2024, once I've ridden this phone out to the end of its upgrade cycle. I pushed my previous phone too far and I don't want to make the same mistake again.

Dropbox Alternatives?

May 22, 2021

I'm finally getting around to upgrading my increasingly ancient, first-generation Google Pixel smartphone. In so doing, I'm going to have to figure out what kind of file synchronization service I can switch to. Dropbox has been my go-to for this kind of thing for years, and it suits my relatively simple needs pretty well (I primarily use it to sync my KeePass password database). However, Dropbox now caps the free tier of service to a maximum of 3 devices. I have more than three devices that I use it on (they were all grandfathered into the new rules), and activating my new smartphone will mean I no longer have support on my phone.

The primary competition that I see to Dropbox is both Microsoft's OneDrive and Google Drive. The former has better OS integration than the latter (from what I can tell), and neither one has such strict limits on the number of devices that can be used. Does anyone have experience with either of these services in terms of syncing files between devices? If so, I'd enjoy hearing about your experience. Are there other similar services I should know about?

The Land the Car Built

May 12, 2021

As I write this we're in the middle of another gasoline shortage here in North Carolina. Our governor stupidly declared a state of emergency which, while technically required to change the rules for gasoline transportation, has caused people to panic and hoard gasoline. I have to imagine there's a better mechanism that we as a society could come up with for changing the rules that doesn't involve the word "emergency."

All this, of course, is thanks to the fact that the United States is the land the car built. Back when we visited Switzerland, one of the joys of travelling there was the ability to get around using only public transportation. You could go virtually everywhere by taking a train, bus, boat, or other random forms of transit. I'd love it if we had the same opportunities here, but it'll never happen.

AG Grid is the best JavaScript plugin I've ever worked with (I've been meaning to write about it, and I hope to soon). Oddly, one of the few features it doesn't support out of the box is clipboard support for cutting data with Ctrl + X. Copy and paste are provided, but cut support is not. Here's how I added support for this operation (we use the Enterprise variant at work, so this code is geared towards that flavor).

let gridOptions = {
    // ... other grid options ...
    'onCellKeyDown': function(e) {
        if(e.event.key == "x" && (e.event.ctrlKey || e.event.metaKey)) {
            e.api.copySelectedRangeToClipboard();
            e.api.getCellRanges().forEach(range => {
                let colIds = range.columns.map(col => col.colId);
                let startRowIndex = Math.min(
                    range.startRow.rowIndex,
                    range.endRow.rowIndex
                );
                let endRowIndex = Math.max(
                    range.startRow.rowIndex,
                    range.endRow.rowIndex
                );
                clearCells(startRowIndex, endRowIndex, colIds, e.api);
            });
        }
    },
};

let div = document.querySelector("#my-grid");
g_MyGrid = new agGrid.Grid(div, gridOptions);

The clearCells function looks like the following, and handles actually resetting the value of the cell to some default value (I set mine to 0, since I'm working with numerical data):

function clearCells(start, end, columns, gridApi) {
    let itemsToUpdate = [];
    for(let i=start; i<=end; i++) {
        let data = gridApi.rowModel.rowsToDisplay[i].data;
        columns.forEach(column => {
            data[column] = "0";
        });
        itemsToUpdate.push(data);
    }

    gridApi.applyTransaction({update: itemsToUpdate});
}

For the past two weeks or so, I've been using Microsoft Edge as my daily driver in the web browsing world. One of the primary motivators for my doing this was Edge's capability to stop auto-playing media, which I find highly annoying. Unfortunately, the advertised feature didn't work for me; at least not on the sites that bug me most (my preferred local news station's website being chief among them). That said, there were a few things I liked and disliked about my experience (note that I have since moved back to Chrome).

What I Liked

  • Migrating data from Chrome took one click, and everything came over: bookmarks, extensions, etc. This was a nice surprise and made transitioning seamless.
  • Since Edge is Chromium-powered, the same set of web developer tools were available. That made my debugging life easier.
  • Edge is very fast, and apparently a lot less resource intensive than Chrome. I'm not sure I perceived any differences, but I was happy to see that things were very snappy.
  • The "picture of the day" on the new tab page was a neat feature. There were some really beautiful photos featured while I used it.

What I Disliked

  • I absolutely hate the way Edge does browser history. When you open your history, a fixed-height dropdown panel appears in the toolbar, which you then must scroll through. Entries pop into view as you scroll, and this part is surprisingly slow. There's apparently no support for opening history in a sidebar by default (though you can pin the view to a sidebar once the popup appears).
  • Auto-play blocking doesn't work. This is the primary feature I was after, but it didn't work for me. It also stinks that it's all or nothing, and not configurable (like I believe Firefox supports).
  • As you might expect, there are a bunch of links to Microsoft content (Office 365, Bing, etc.) all over the place. They're really trying to push their products, and it shows.
  • Bing search is a disappointment. I gave it an honest try, but more often than not I had to scroll way down in the search results to find a result of use. This seemed particularly problematic with technical searches. Google just seems to surface technical content better than Bing. Perhaps that's a function of the overall user base?

As I said previously, I've since switched back to Chrome, as Edge didn't feel different (or better) enough to get me to stay. I'm debating giving Firefox another try, but I've been really frustrated with how Mozilla has hobbled their browser over time with stupid decisions. Are there other browsers I'm missing out on that you like? A former colleague of mine used the Brave browser, which I haven't yet tried. I'm open to trying alternatives, so let me know if there's one I've overlooked.

The second installment of my Good Old Music series is The Snow Goose by Camel. An entirely instrumental album from 1975, the music here is phenomenal. I particularly like the instrumentation throughout this album; flutes, electric guitars, organs, woodwinds, The Snow Goose has it all. This is an album I listen to often while working. Check it out!

Monolithic Methods

Apr 15, 2021

One of my current projects at work involves adding new functionality to my oldest web tool. I inherited this Django-powered project way back in 2015 (the tool was in its infancy at the time), and have been the sole designer and developer for the project ever since. It's been pretty rock solid, humming along for the past few years without any major modifications or issues. However, this recently has changed, as management wants to track the tool's data using a new dimension that we weren't considering previously.

These new features require adjustments to the database schema, which means that corresponding front-end changes, for both data entry and reporting, are also needed. The end result is that a lot of code needs to be updated. Digging through this ancient code has been both embarrassing and humbling.

When I inherited this project, I didn't know Python. By extension, I knew nothing about Django, which was still in its relatively early days (Django 1.8 was the latest at the time). I had plenty of web-design and programming experience, which made learning both much easier, but I made a ton of mistakes with both the architecture and implementation of the application. I'm now regretting those mistakes.

One of the most egregious errors in this application, and something I honestly still struggle with to a degree, is writing monolithic methods. Some of the view methods in this tool are many hundreds of lines long. Amidst these lines are dozens of calls to various "helper" functions, many of which are equally as complex and lengthy. It has made figuring out what I was doing painful, to say the least.

I'm trying to remedy this situation by creating stand-alone classes to act as logic processors. The resulting class is easier to read, even if the length of code is nearly the same. So, a sample view using this methodology might look something like this:

class MyView(View):
    def get(self, request):
        vp = MyViewProcessor(request)
        response = vp.process()
        return JsonResponse(response)

The corresponding processor class would then look as follows:

class MyViewProcessor:
    def __init__(self, request):
        self.request = request
        # Other initialization goes here

    def process(self):
        self.load_user_filters()
        self.load_data()
        self.transform_data()
        return self.build_response()

Each of the calls in the process() method are to other methods (not shown) that handle tasks like processing incoming data (from a front-end form), loading data from the database using those filters, etc. This construct, while not perfect, at least makes the code more readable by breaking the work into discrete units.

There was a nice article at the Washington Post earlier this month on the joys of YouTube's "cab-ride" train videos. They mentioned one of my favorite YouTube channels, lorirocks777, which posts videos from Switzerland and surrounding countries. Videos like this make great "background" viewing while doing other tasks (like, for me, working).